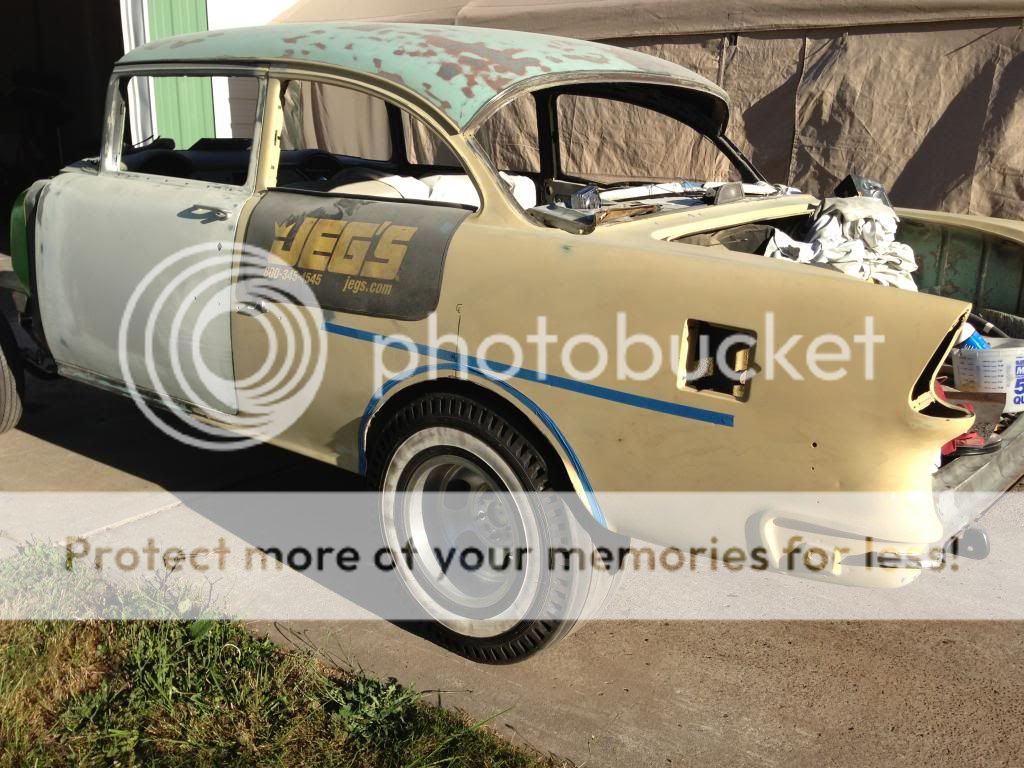
Here's my latest. It's, as the title states, a model 100 -the base model. I'm not sure how it spent it's life. There are no logos on it, but it does look like a school district truck.
![Image]()
I have a friend with a '58 that is orange and it looks stock, so who knows. Maybe in those years you could actually get colors on the trucks, not just white, red and black (and turquoise).
![Image]()
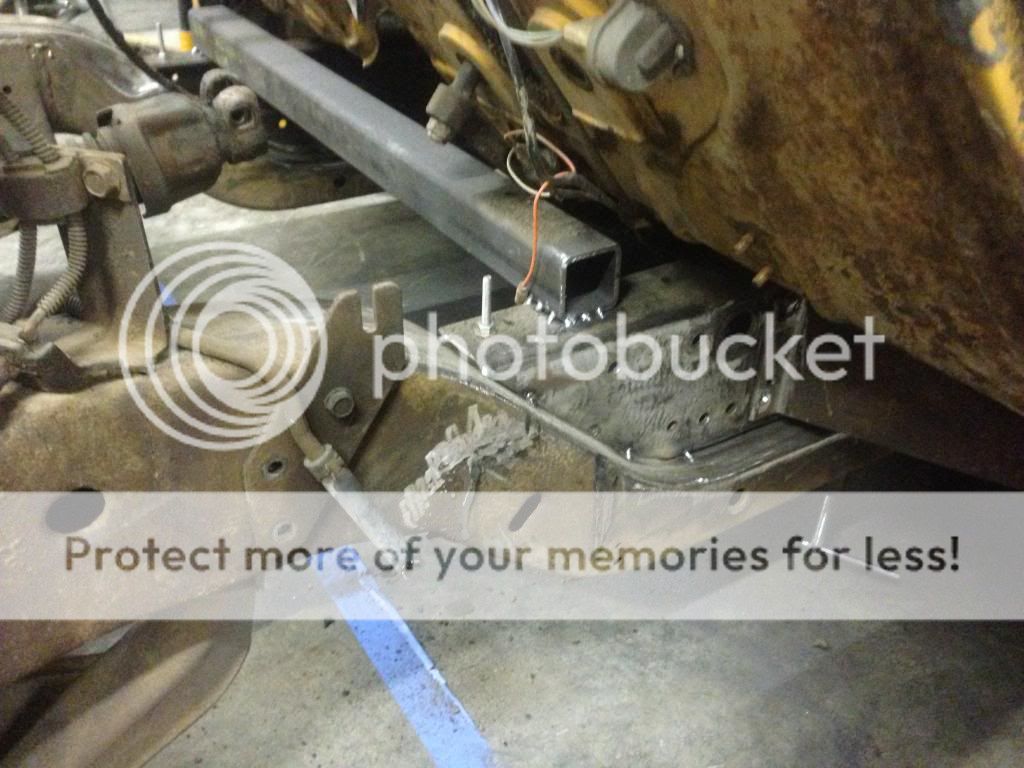
My plan is pretty simple. I bought a clip from a '76 Trans-Am that I will graft right onto the existing frame. This will get me extremely low with great suspension travel and huge disc brakes and an enormous sway bar along with easy mounting for the engine and transmission.
![Image]()
I already did an axle flip in the rear using the stock one from my gasser. Not sure if I am keeping that one or going with one a bit wider. It's 60" and the trucks is 62". I am also going with a one-piece driveshaft.
![Image]()
It's going to be stock inside, too. It has the original wheel with horn button and the dash is good. I had to replace the lower hinge on the driver's door. I will paint the footwells and replace some rusted metal around the hinge pocket. Stock bench seat recovered and a floor shifter for the 700R4. I have a Fenton three-speed manual shifter that I might see if I can make work for this. I don't want a newer shifter and I hate the locar style shifters.
I have the GMC for the hood and my bud with the '58 has a chrome front bumper with dagmars that I can have. I am still thinking on it because I also have a '56 Pontiac that I was going to steal the bumpers off of front and rear... or I do also have a '56 Packard front bumper that I have been holding onto since 1978! Which one? I may have to mock them up to see which one I like best. I know that the huge steel rear bumper is coming off.
![Image]()
I will need to replace all the rubber and seals on the cab. It sat out (probably with the back end either sticking out or under a tree as it is the rustiest part) for who knows how many years and they are all cracked. Needs the flat glass replaced, but that should be easy.
Anyway, that's where we start...
I have a friend with a '58 that is orange and it looks stock, so who knows. Maybe in those years you could actually get colors on the trucks, not just white, red and black (and turquoise).
My plan is pretty simple. I bought a clip from a '76 Trans-Am that I will graft right onto the existing frame. This will get me extremely low with great suspension travel and huge disc brakes and an enormous sway bar along with easy mounting for the engine and transmission.
I already did an axle flip in the rear using the stock one from my gasser. Not sure if I am keeping that one or going with one a bit wider. It's 60" and the trucks is 62". I am also going with a one-piece driveshaft.
It's going to be stock inside, too. It has the original wheel with horn button and the dash is good. I had to replace the lower hinge on the driver's door. I will paint the footwells and replace some rusted metal around the hinge pocket. Stock bench seat recovered and a floor shifter for the 700R4. I have a Fenton three-speed manual shifter that I might see if I can make work for this. I don't want a newer shifter and I hate the locar style shifters.
I have the GMC for the hood and my bud with the '58 has a chrome front bumper with dagmars that I can have. I am still thinking on it because I also have a '56 Pontiac that I was going to steal the bumpers off of front and rear... or I do also have a '56 Packard front bumper that I have been holding onto since 1978! Which one? I may have to mock them up to see which one I like best. I know that the huge steel rear bumper is coming off.
I will need to replace all the rubber and seals on the cab. It sat out (probably with the back end either sticking out or under a tree as it is the rustiest part) for who knows how many years and they are all cracked. Needs the flat glass replaced, but that should be easy.
Anyway, that's where we start...


